Depth of Field
Creating a shallow depth of field will help the eye focus in on your subject. The eye is more attracted to objects higher in detail, so blurring out what is less important makes the subject more distinguishable. This tutorial will outline two different techniques for modifying depth of field.
Using a Filter
Open your image in Acorn, File ▸ Open.
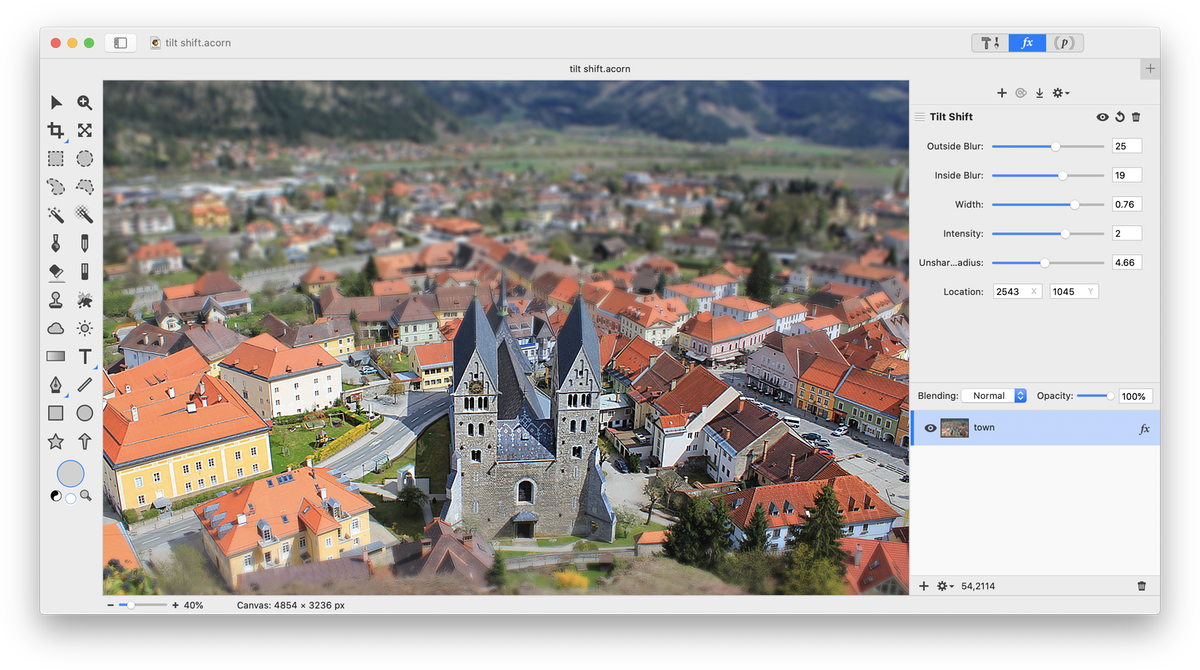
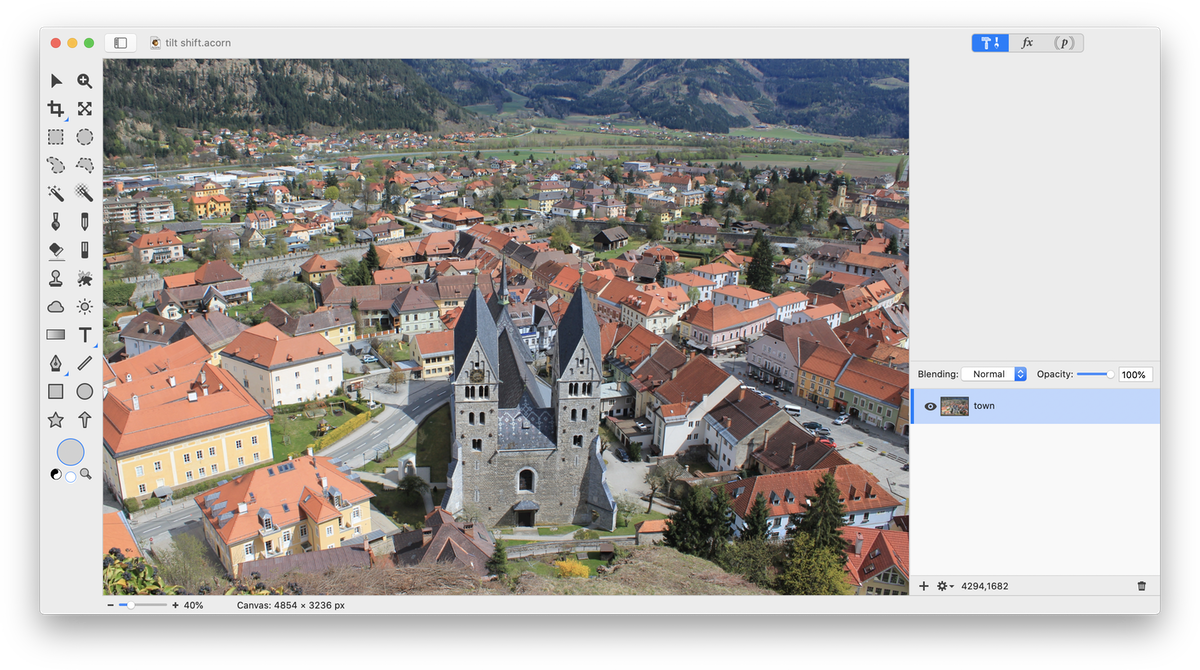 Go to Filter ▸ Stylize ▸ Tilt Shift. Move the tilt shift location via the on canvas controls to the area you want to focus on. Play around with the blur and radius values to create a stronger or more subtle effect
And that's it!
Using Layers
Open your image in Acorn, File ▸ Open.
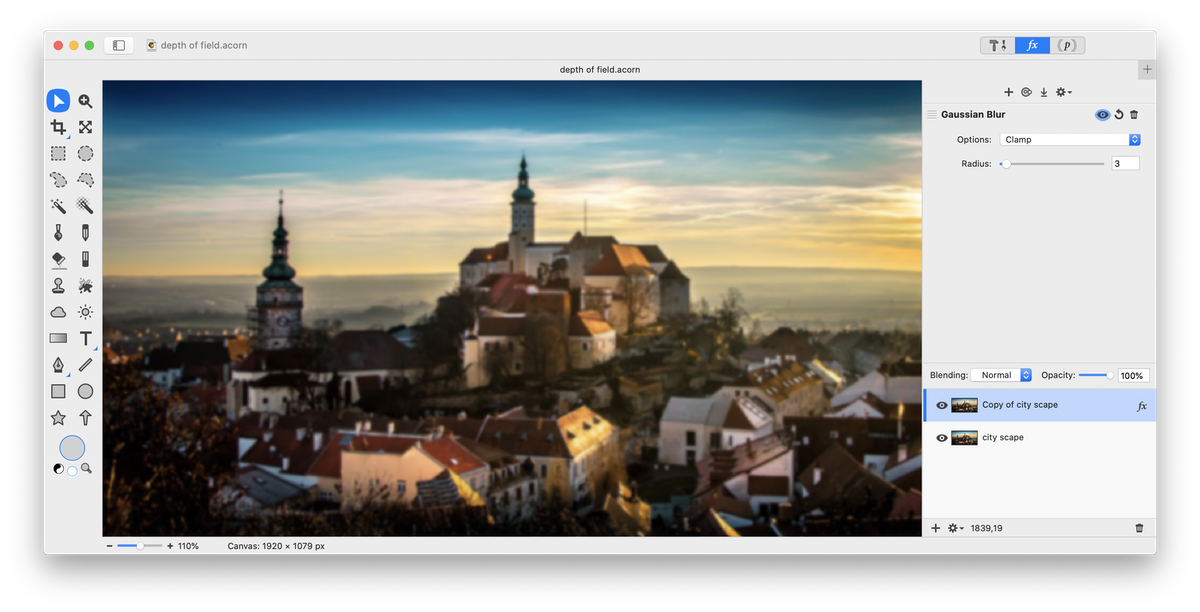
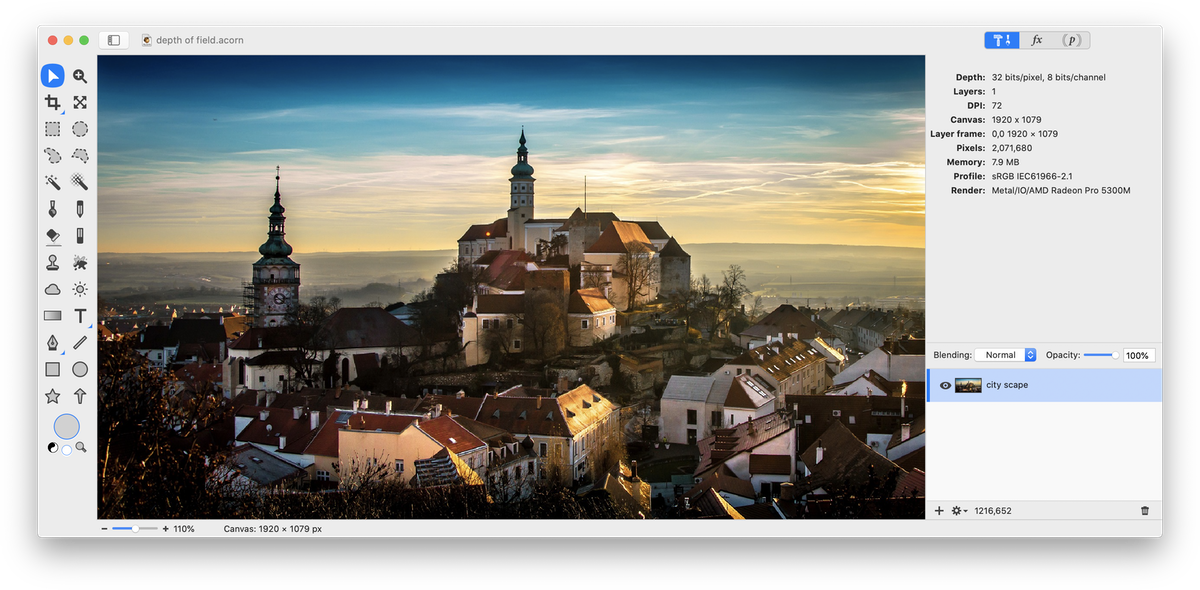 Duplicate the original layer, Layer ▸ Duplicate Layer. On the top layer apply a Gaussian Blur by going to Filter ▸ Blur ▸ Gaussian Blur. You don't want too much of a blur. For this image the setting is at 3.
 Next, choose a selection tool and select the area you want to be in focus.
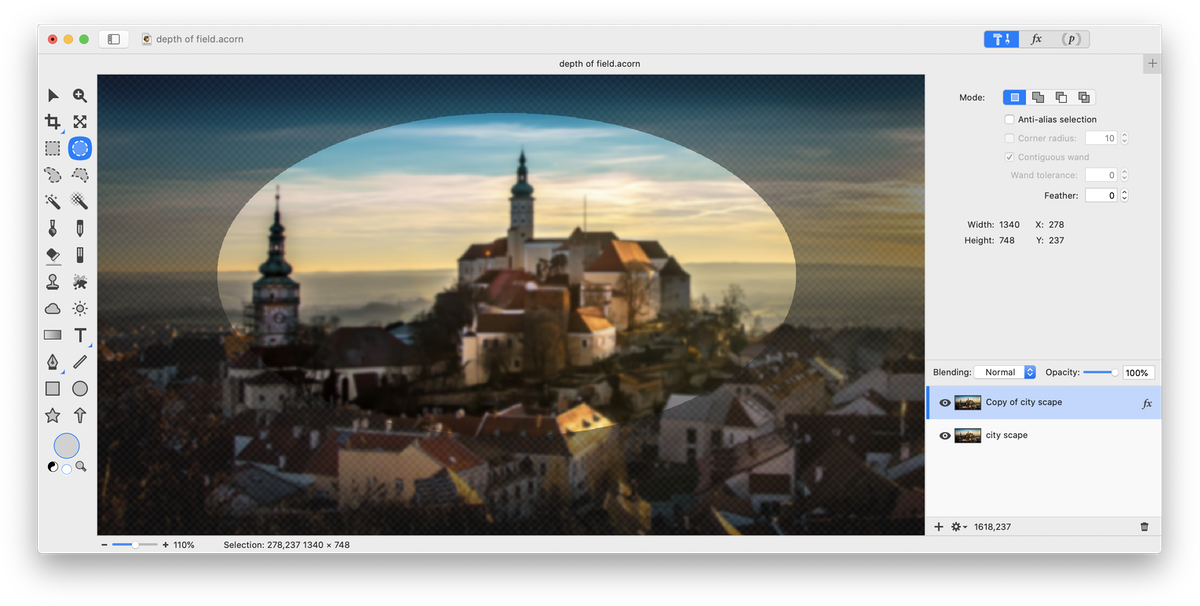 Click on the eraser tool in the tools palette and set the Flow to 50%. Erase the area inside the selection with a fairly large size eraser. The reason to use the eraser for this is that a soft transition looks better between the focused and blurry areas. Erasing the layer with the filter applied shows the clear original layer underneath.
Deselect the selection by going to Select ▸ Clear Selection) or hitting ⌘D. You will have an area of your image that is clearer than the foreground and background.
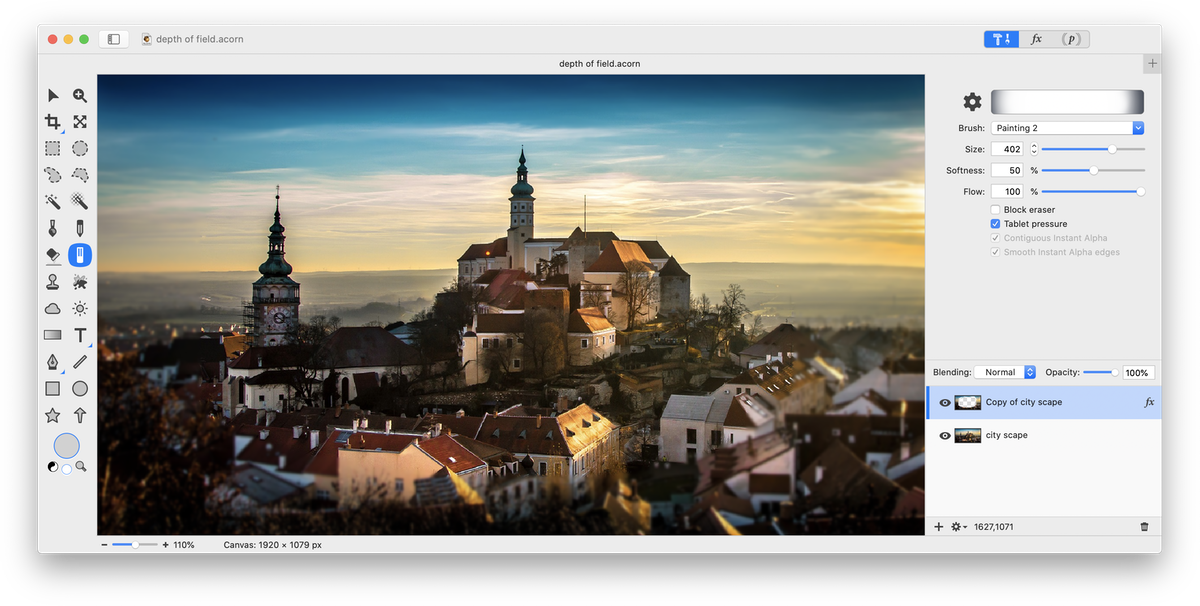 Now, take your eraser with a low opacity (10% is used here) and clear up some of the foreground and background areas around your subject. Use the eraser at 100% and go over your subject to make it as clear as possible. You want to make it so there is a subtle transition between what is in and out of focus.
Click on the bottom layer and choose Filter ▸ Sharpen ▸ Unsharp Mask. Play around with the settings.
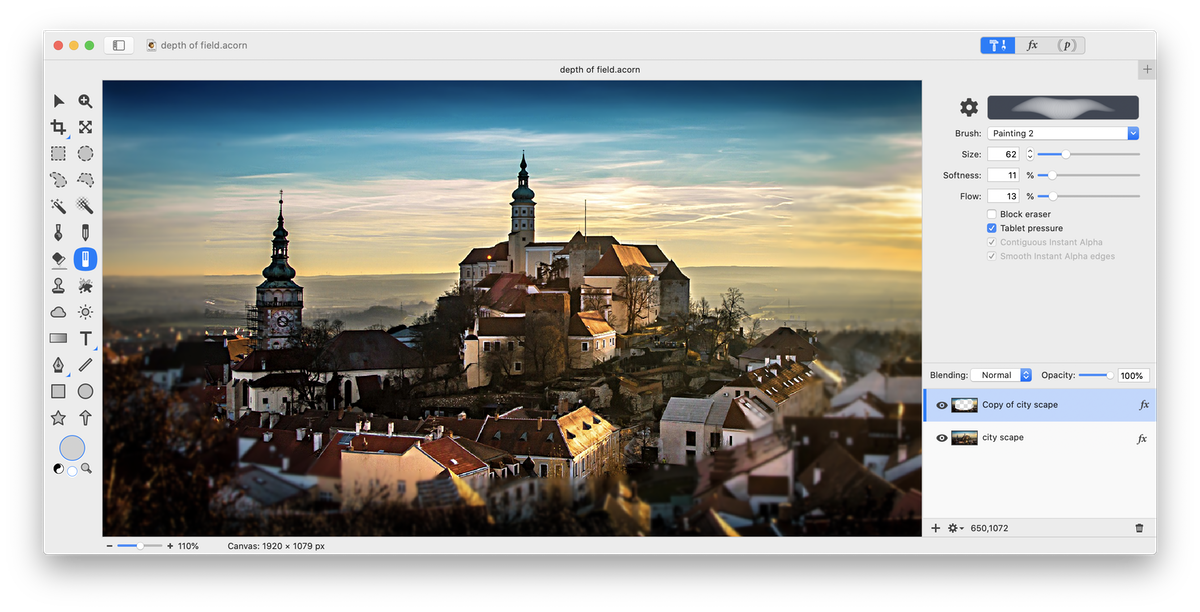


Before & After


